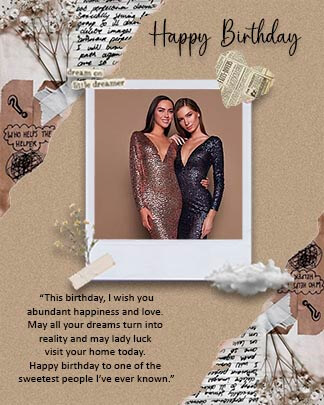
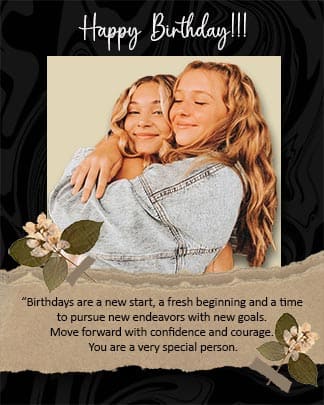
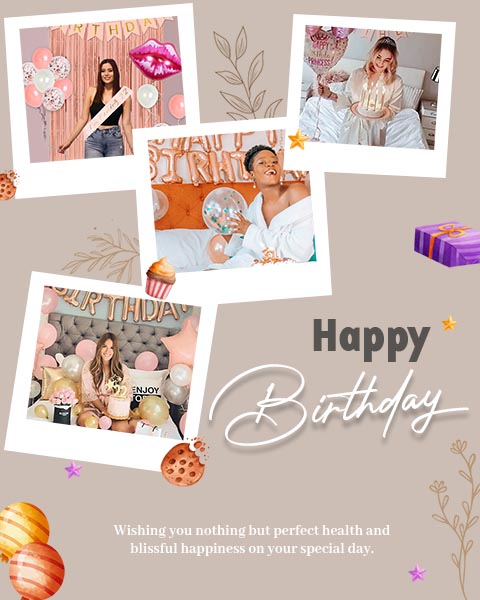
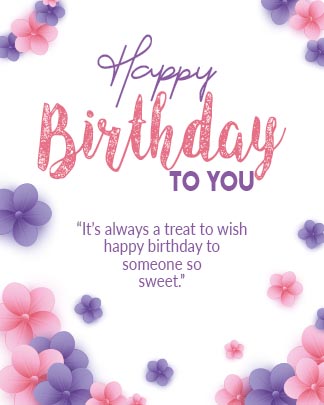
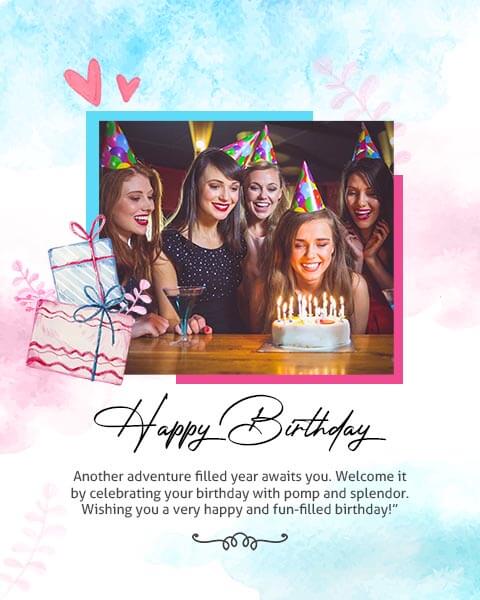
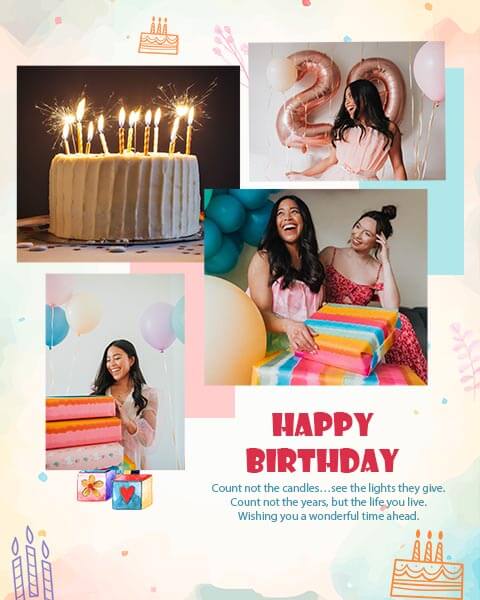
Crafty Art: Creating Personalized Birthday Cards
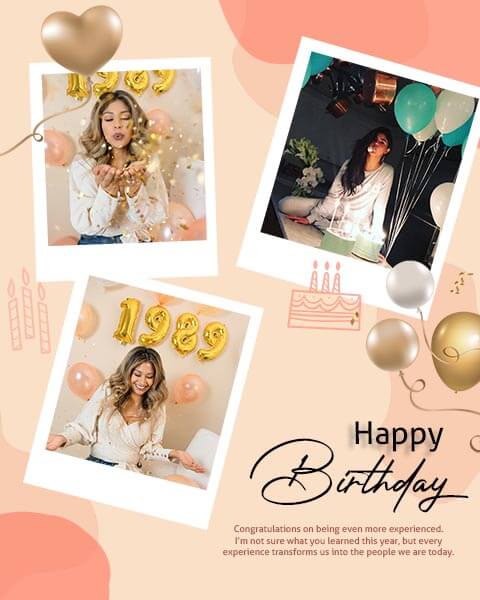
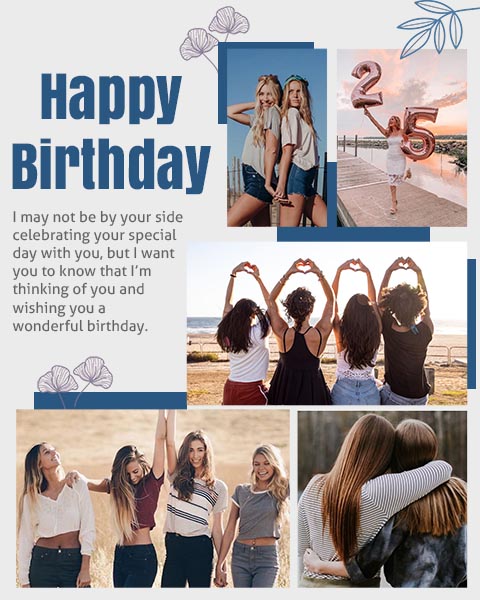
In today’s digital age where instant messages and emails dominate, receiving a personalized birthday card in the mail can truly brighten someone’s day. At Crafty Art, we believe in the beauty of handmade creations, especially when it comes to expressing heartfelt sentiments on special occasions like birthdays. In this guide, we’ll walk you through the steps to create stunning and unique Birthday Cards that will leave a lasting impression on your loved ones.
Materials Needed for Your Birthday Cards
Before diving into the creative process, gather your materials. At Crafty Art, we recommend starting with sturdy cardstock or quality paper as the base of your card. This ensures durability and provides a good surface for various embellishments. You’ll also need colored markers, decorative paper, scissors, glue or double-sided tape, and any embellishments like stickers, ribbons, or glitter that suit the recipient’s taste.
Choosing a Design Theme
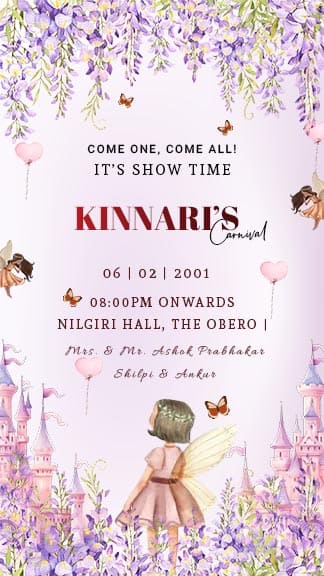
The key to a memorable birthday card lies in its design. Consider the recipient’s personality and preferences. Are they a fan of flowers, animals, or perhaps geometric patterns? Tailoring the design to their interests shows thoughtfulness and adds a personal touch. For example, if they love nature, you might incorporate leaf motifs or floral patterns into your design.
Handmade Touches: Adding Personalization
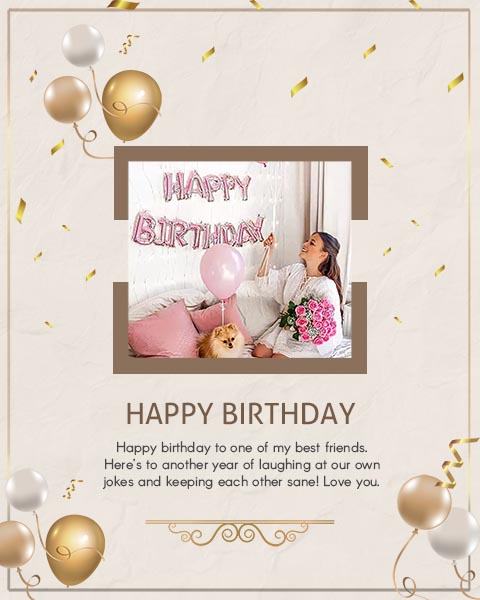
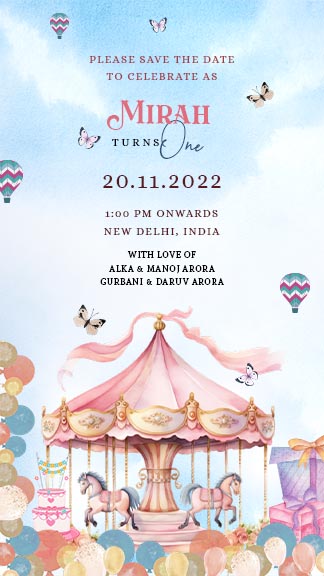
What sets a handmade Birthday Cards Invitation apart from store-bought ones is the personalization. Write a heartfelt message inside the card using your best handwriting or a calligraphy pen if you have one. Mention specific memories or qualities about the recipient that make them special to you. This personal touch will make the card meaningful and cherished.
Creative Techniques: DIY Embellishments
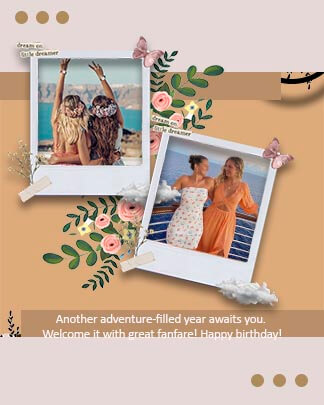
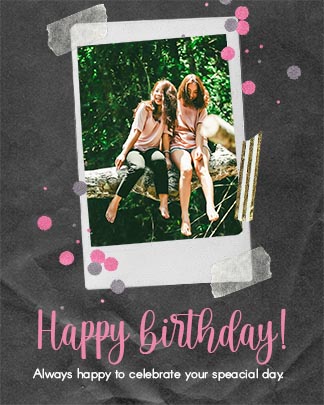
Now, let’s get crafty with embellishments. Experiment with DIY techniques like paper quilling to create intricate designs, or use rubber stamps to add decorative elements. Layer different textures such as fabric scraps or washi tape to add dimension. Don’t be afraid to mix and match colors and materials to create a visually appealing composition.
Step-by-Step Guide: Assembling Your Birthday Card
- Fold Your Cardstock: Start by folding your chosen cardstock in half to create the card base.
- Design the Front: Design the front of the card with your chosen theme. Use markers or decorative paper to create a background, then add focal points like a cut-out silhouette, a stamped image, or a hand-drawn illustration.
- Inside Decorations: Open the card and consider decorating the inside panels as well. You can continue the design theme from the front or leave space for your handwritten message.
- Final Touches: Once you’re satisfied with the design, securely attach all elements using glue or double-sided tape. Ensure everything is neatly aligned and any excess glue is wiped away.
Adding Personalization with Handwritten Messages
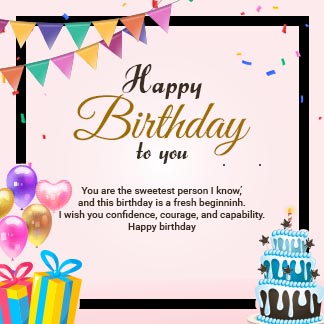
The hallmark of a memorable birthday card is a heartfelt message. Take time to craft a personalized note inside the card. Choose words that resonate with the recipient, reflecting your relationship and shared memories. Consider incorporating calligraphy or decorative lettering to elevate the message further. A handwritten note adds a personal touch that digital greetings simply can’t match, making the card a cherished memento.
Incorporating Creative Techniques
Elevate your birthday card designs with creative techniques that make them stand out. Experiment with heat embossing to create glossy, raised designs, or try paper quilling for intricate, three-dimensional patterns. Watercolor painting adds a whimsical touch, while adding texture with fabric or washi tape brings tactile appeal. These techniques not only enhance the aesthetic appeal of your cards but also showcase your artistic flair.
Designing Cards for Different Age Groups
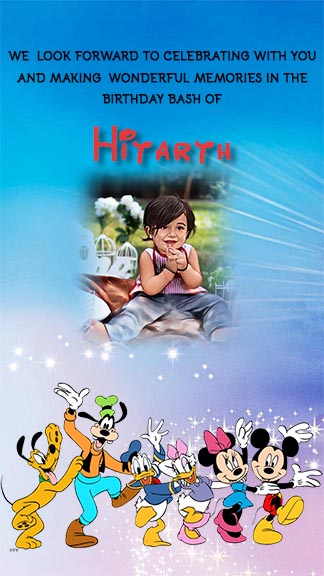
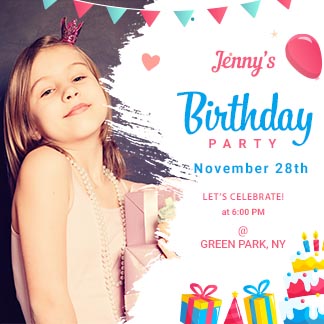
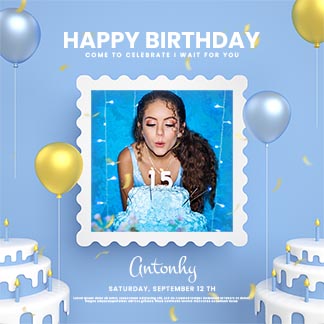
When creating birthday cards, consider the age group of the recipient. For children, vibrant colors, playful designs, and interactive elements like pop-ups or movable parts capture their imagination. Teens and young adults may appreciate trendy designs, minimalist aesthetics, or cards with humorous quotes or memes. For adults, sophisticated designs with elegant embellishments or nostalgic themes evoke sentiment and appreciation.
Packaging and Presentation
Once your birthday card is complete, pay attention to its presentation. Use envelopes that complement your card design and protect it during transit. Consider adding a decorative seal or personalized sticker for a finishing touch. If hand-delivering, consider presenting the card alongside a small gift or bouquet of flowers for an added element of surprise and delight.
Sharing Your Crafty Creations
Share your handmade birthday cards with friends, family, and the Crafty Art community. Consider hosting card-making workshops or exchanging cards with fellow crafters to inspire creativity and foster community spirit. Document your designs on social media platforms or a personal blog to showcase your skills and inspire others to embark on their own creative journey.
Conclusion: Celebrating with Crafty Art Birthday Cards
Creating personalized birthday cards at Crafty Art isn’t just about crafting; it’s about expressing love, appreciation, and joy through handmade art. Whether you’re making a card for a family member, friend, or colleague, the effort and creativity you put into your handmade creation will undoubtedly make their birthday even more special. Embrace the joy of crafting and spread happiness one card at a time with Crafty Art birthday cards.

